2019-12-06
本教程的签名制作方法非常简洁,不过效果非常甜美。大致过程:先给人物简单的磨皮及润色处理,然后用用蒙版把人物融入设置好的背景中,最后用高光素材叠加等加上高光即可。
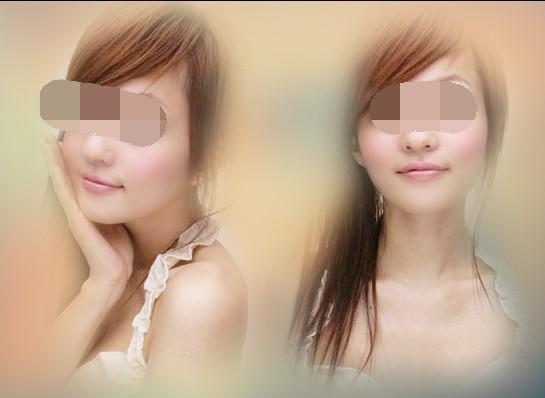
原图

最终效果


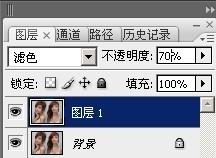
1、打开人物素材,进行简单的磨皮。我重复一下磨皮步骤帮大家温习一下,方法不止一种,按“ctrl+J”键复制一层,修改图层的模式为“滤色”,调整不透明度为“70%”,“ctrl+E”合并两个图层。
2、执行“滤镜”─“模糊”─“高斯模糊”(根据图片自己定义)。
3、打开“历史记录”面板,(窗口─历史记录),找到最下面的步骤“高斯模糊”,点击鼠标右键,执行“新快照”命令,命好名,会在面板形成一个新的快照。
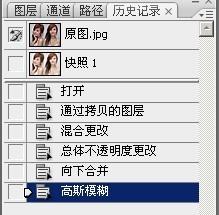
4、点击快照1前的小方块,使他处于当前状态,点击图层面板,是它处于图层编辑面板,在打开历史记录面板,删除“高斯模糊”命令,这样图像又恢复到以前的状态。
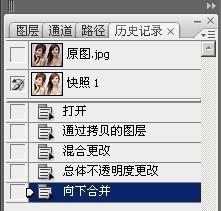
5、再使用历史记录画笔进行涂抹了,设置好参数,不透明度50%以下,在需要磨皮的皮肤上,进行涂抹(我就大致的弄了下,大家可要仔细点,注意细节)。
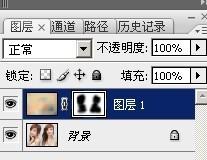
6、打开素材执行:滤镜 > 模糊 > 高斯模糊,数值为20左右,确定后加上图层蒙版,用黑色画笔把人物部分擦出来。(柔角画笔,不透明度降低)
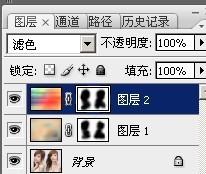
7、打开素材图层混合模式改为“滤色”,加上图层蒙版,用黑色画笔把人物脸部擦出来。


8、如果不喜欢这个颜色,也可以,创建色彩平衡调整图层,或者色相饱和度,稍微调整下整体颜色,数值自定。
9、最后再适当锐化一下,并打上自己喜欢的签名文字,完成最终效果。