2019-07-14 11:38:01
大家好鸭,又是一年开学季。今天为大家带来一篇教程《如何搭建个人博客网站》,喜欢的同学可以研究一下。
前期准备:
1、一台云服务器
2、一个域名
3、一个博客网站模板
主要涉及知识点:linux基础命令,mysql基础操作
步骤
1、 服务器搭建
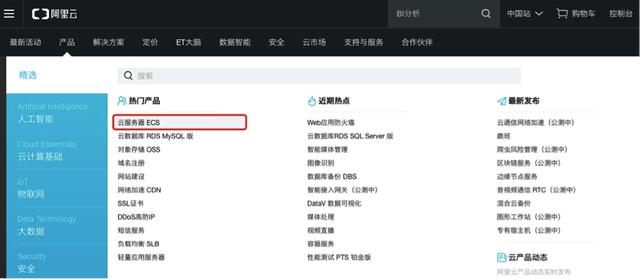
购买一台网络云服务器,可以考虑阿里云、腾讯云、百度云等,这里以阿里云服务器举例。
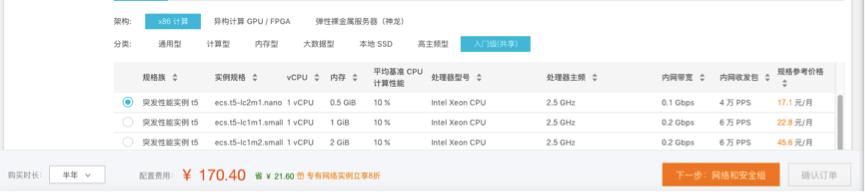
共享型价格在半年170元左右。不定期会有活动,首台半价等。
系统配置CentOs6.8系统
可在管理控制台查看配置购买的服务器

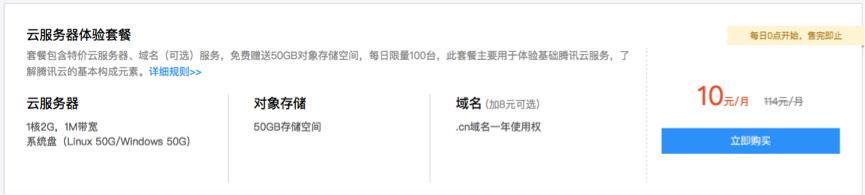
PS:腾讯云学生活动10元/月(服务器加存储加域名)
2、网络环境部署
购买完成后,在管理端后台更多设置里修改远程登录密码
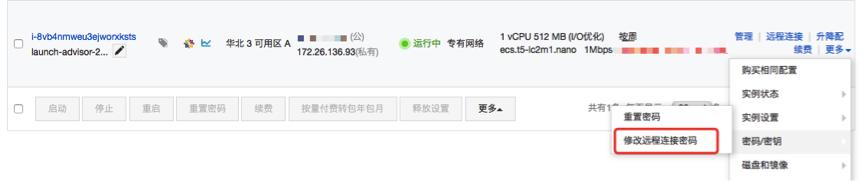
重置密码是重置远程登录之后服务器的密码(用户名root)
两个都修改完成后就可以远程连接服务器啦
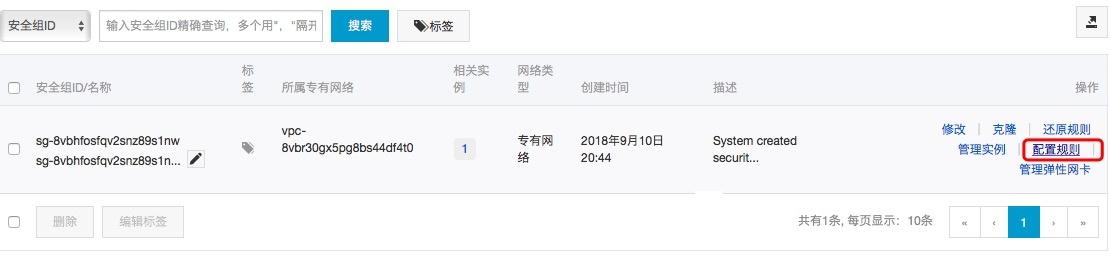
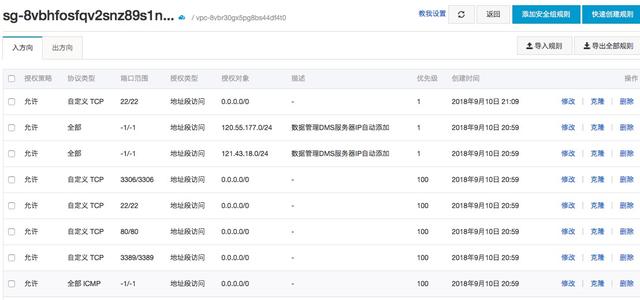
在安全组里添加访问规则,允许80,22端口访问
1)安装apache服务器
首先执行yum install httpd httpd-devel

需要确认的,填yes,以下同样

启动apache执行: /etc/init.d/httpd start

2)安装mysql服务
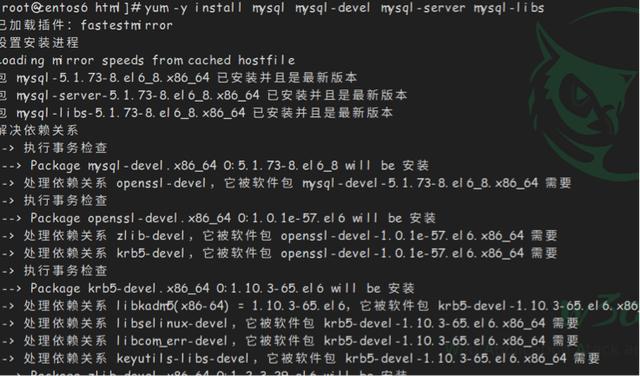
执行:yum install mysql mysql-server
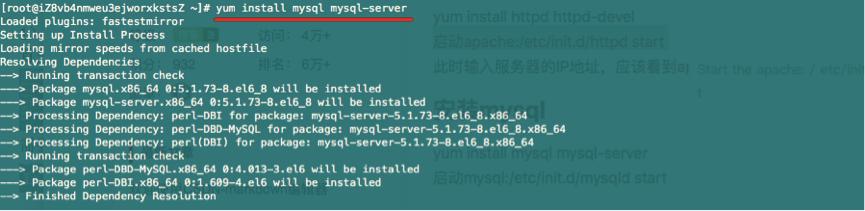
启动mysql:/etc/init.d/mysql start

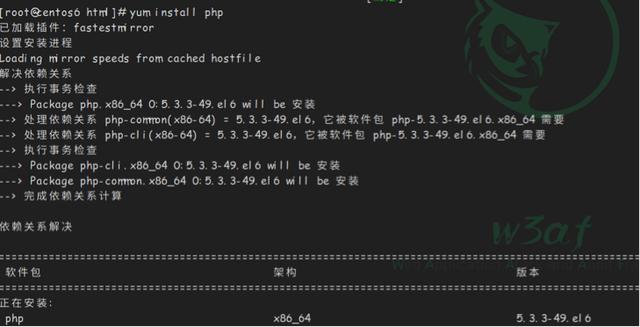
3)安装php
yum -y install php
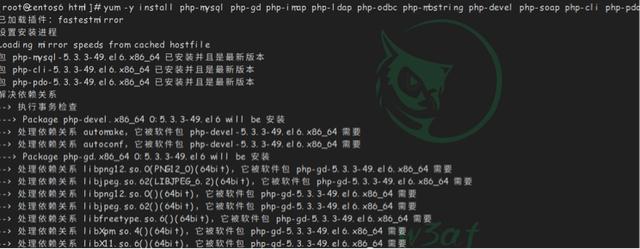
4)安装php拓展
执行:yum -y install php-mysql php-gd php-imap php-ldap php-odbc php-mbstring php-devel php-soap php-cli php-pdo
yum -y install php-mcrypt php-tidy php-xml php-xmlrpc php-pear
yum -y install php-pecl-memcache php-eaccelerator
然后重启httpd服务 service httpd restart

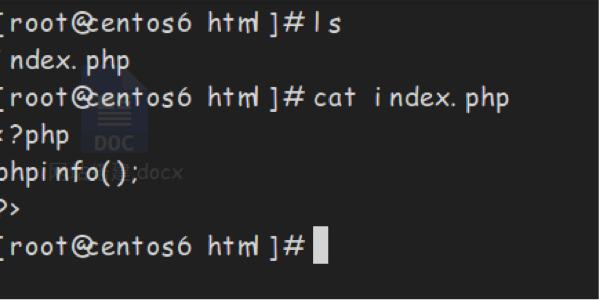
然后进入默认网站目录cd /var/www/html/
然后touch index.php
然后编辑一下添加如下php代码:
<?php
phpinfo();
?>
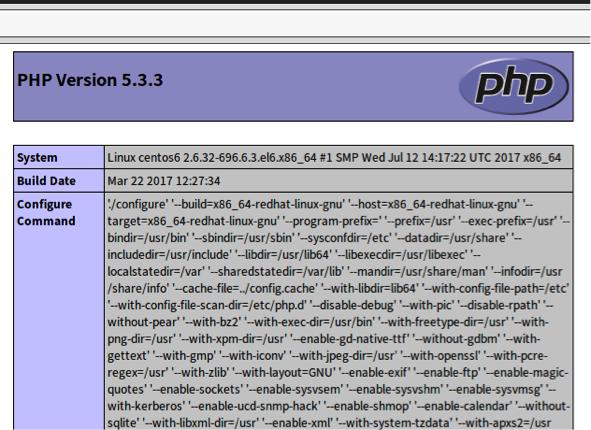
然后在浏览器输入你的服务器公网ip地址就可以看到如下页面哟,首先确认你的防火墙已经全部关闭了哦.
防火墙关闭命令
service iptables stop
然后关闭防火墙的开机启动chkconfig iptables off
同时开启httpd和mysql的开启启动
Chkconfig httpd on
Chkconfig mysqld on
接下来就可以去wordpress下载源码包了.
3、网站部署
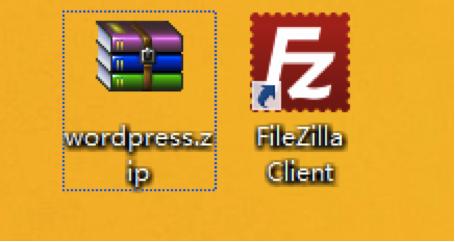
1) 下载WordPress安装包,上传到服务器
这是我下载的wordpress安装包,上传工具使用的是FileZilla Client
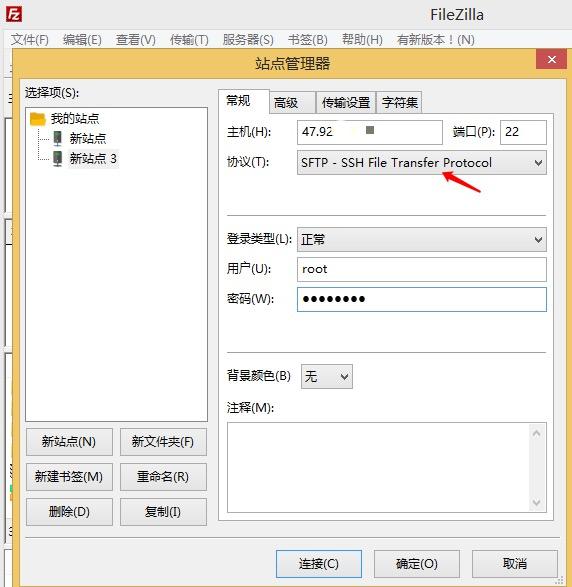
运行FileZilla Client,输入地址,账号,远程登录密码,端口22,快速连接
也可以通过文件>站点管理器>新建站点添加
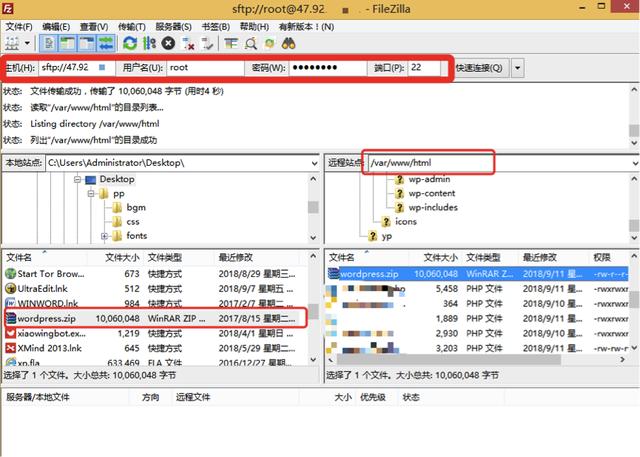
连接成功后,将下载的wordpress压缩吧拖到右边/var/www/html文件夹下
好的上传完毕。
2) 解压安装包,配置wordpress
好的看到我们的源码包了,现在来解压他.

发现没有解压命令,我们来安装一下.
执行:yum install zip
执行:yum install unzip
安装完成后,我们来解压缩wordpress
进入/var/www/html目录
执行:cd /var/www/html

解压缩安装包:unzip –x 安装包名称
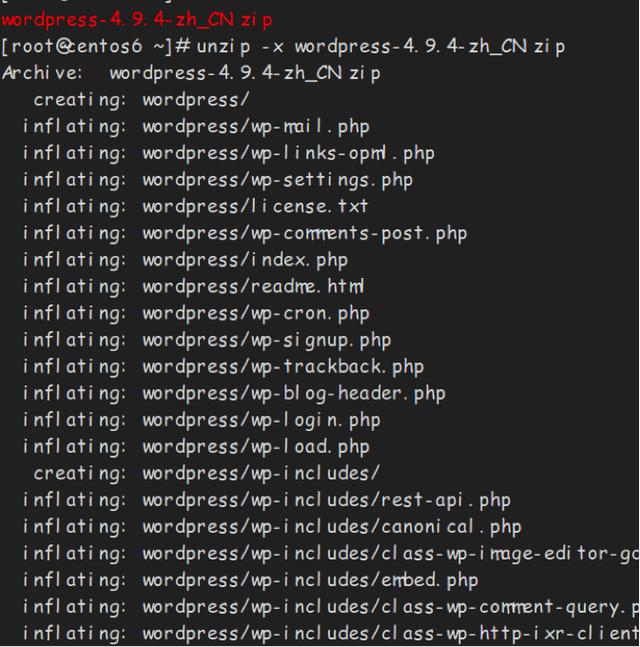
这就解压完毕了

这样咱们就只剩下安装了.
3)安装wordpress程序
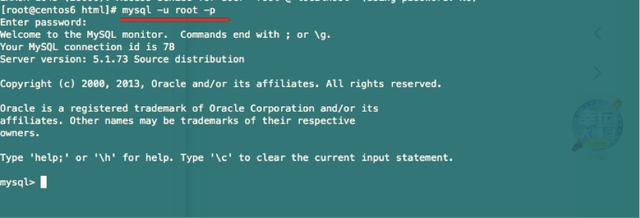
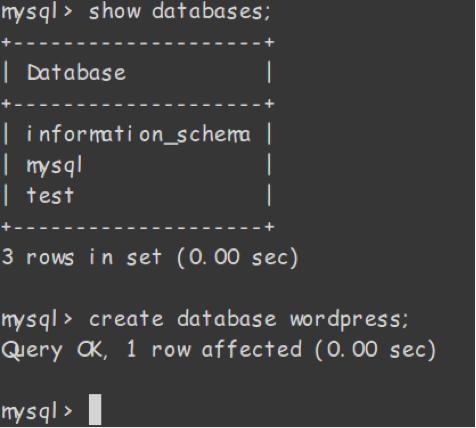
进入mysql为wordpress创建一个数据库
执行:mysql -u root –p
需要创建数据库密码
执行:SET PASSWORD FOR 'root'@'localhost' = PASSWORD('新密码')

创建数据库执行:create database wordpress;
在网页上输入公网地址,进入wordpress配置页面,填写好如下表单

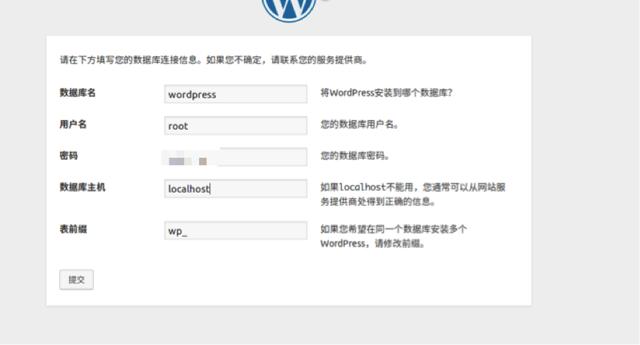
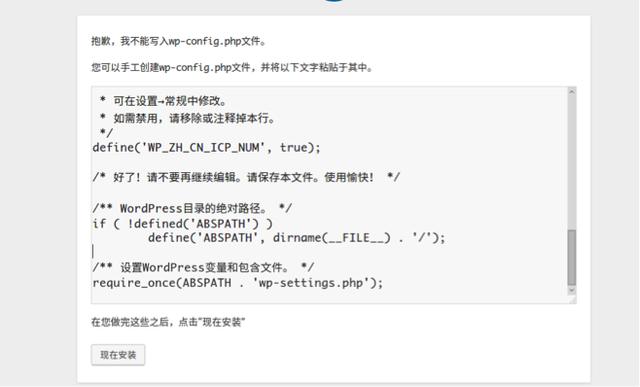
发现我们不能安装,
因为没有写权限,添加权限即可
在服务器上执行:cd /var/www/
chmod –R 777 html

再回到网页,刷新
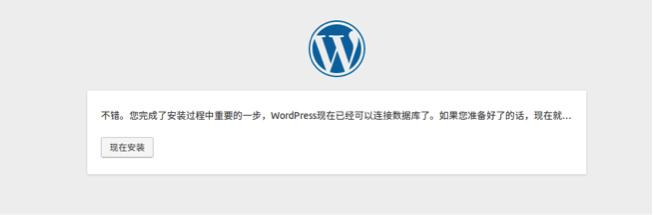

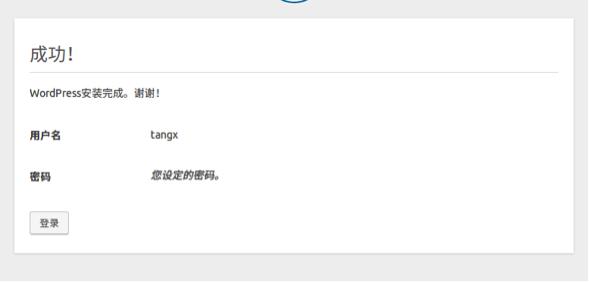
这样就安装好了.
这样你就可以进入你的博客,写你的文章了.
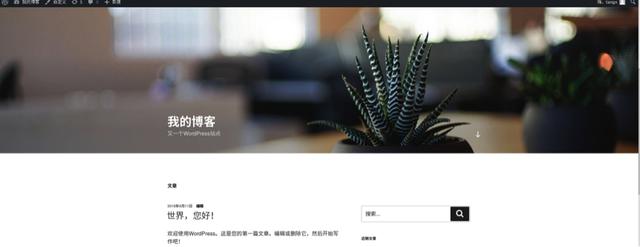
至此,安装完成,WordPress里面有很多模板,可以直接更改你博客的主题风格,十分方便。
如果你想把网站挂出来让朋友来访问,那么你就还需要最后一步,去云购买一个域名,进行一下地址解析。
上一篇:需要创建个人博客网站的N个理由
下一篇:如何搭建个人博客网站!