2019-12-06
有的朋友会被excel制作创意照片墙的操作困惑住,所以这里小编就带来了excel制作创意照片墙的详细教程,感兴趣的朋友就跟小编一起来学习一下吧。
excel制作创意照片墙的详细教程

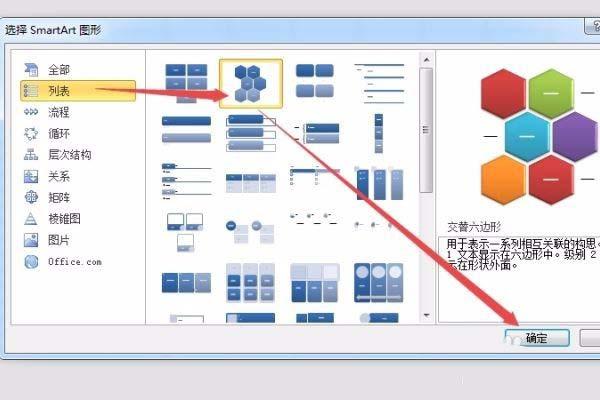
1、新建一个excel工作表,在菜单栏中的插入中,找【smartart】命令单击【列表】,选择【交替六边形】后单击【确定】
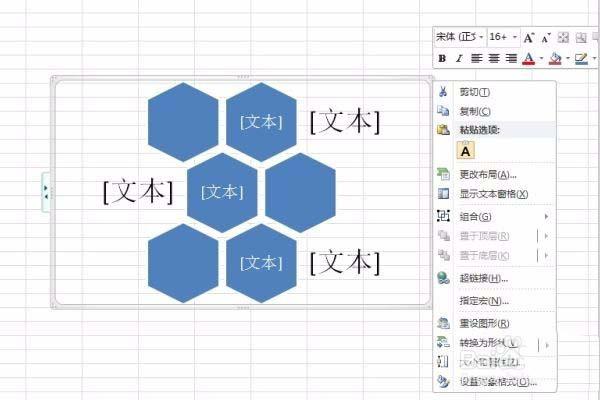
2、在smartart图形的边框上单击右键,找到【组合】单击以后,会出现【取消组合】
3、然后在smartart框上上单击右键,单击【取消组合】
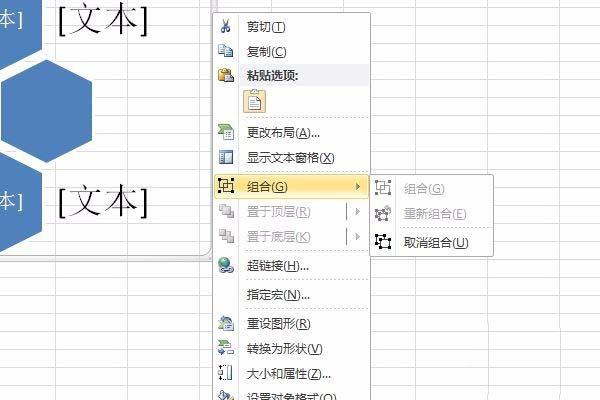
4、在接着选中各个图片框,同样取消组合,然后复制出一个图片框

5、在每一个图片框上单击【格式】中的【形状样式】,在填充中选择图片或纹理填充
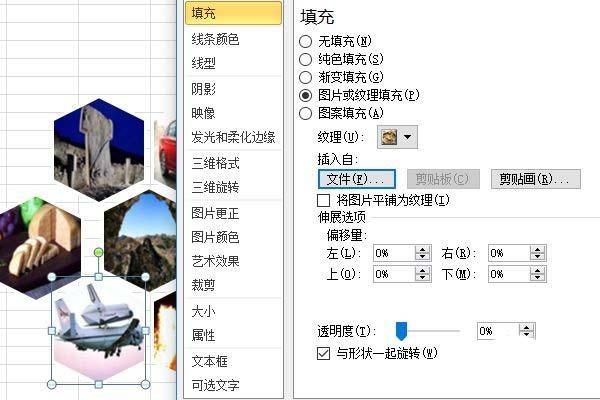
6、在文件中,把想放入的图片分别找到,单击插入就好了

各位小伙伴们,看完上面的精彩内容,都清楚excel制作创意照片墙的详细操作了吧!