2019-12-06
很多伙伴做文档时,为了整齐美观,需批量把图片转为固定尺寸,那么Photoscape是怎样批量秒速调整图片尺寸的呢?接下来小编就来分享Photoscape批量秒速调整图片尺寸的详细教程,相信一定可以帮助到你们。
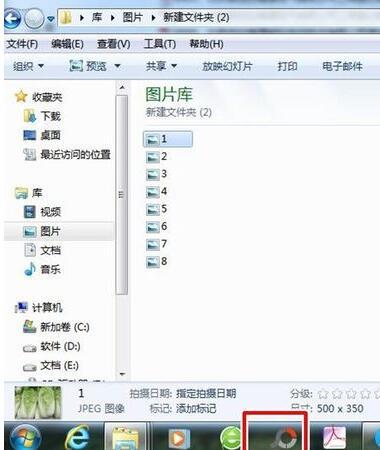
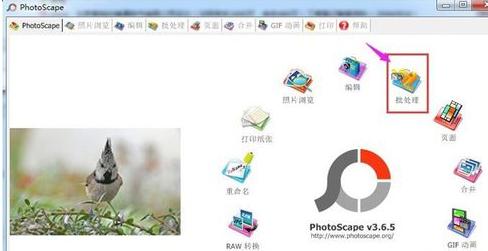
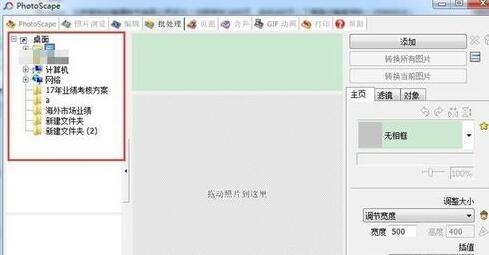
首先打开PhotoScape软件。
打开后,点击【批处理】,进入批量编辑页面。
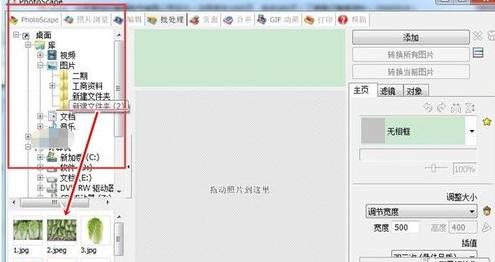
在左上角文件夹中找到图片存储位置,点击该文件夹,就可以看到在左下方成功加载了文件夹内的图片。
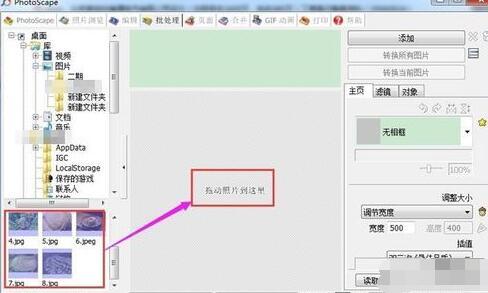
按键盘【ShifT+A】全选图片后,点击鼠标左键,拖动至编辑区内,松开鼠标左键。注意:选择后要点击鼠标进行拖动,直接点击不会自动添加至编辑区。
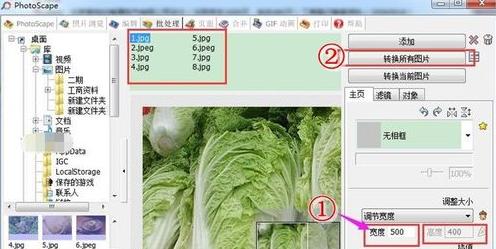
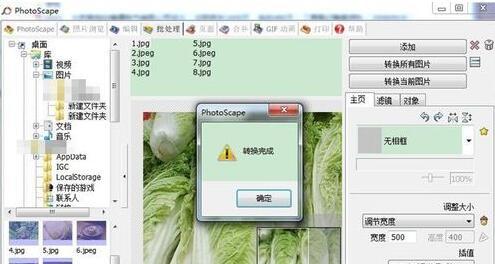
成功移动至编辑区后,可在上中方看到所有图片的名称。在右下侧,输入需调整的图片尺寸,点击右上角的【转换所有图片】。
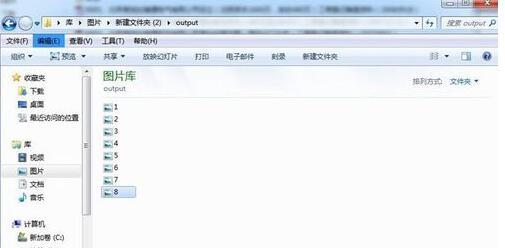
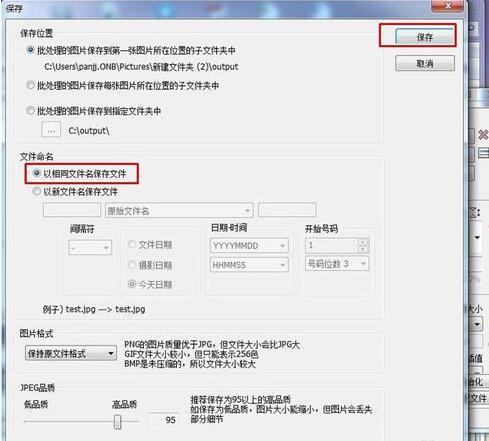
选择转换完后的图片保存的位置,转换后的文件名,图片格式等后,点击保存。约10秒左右就可以转换完成。
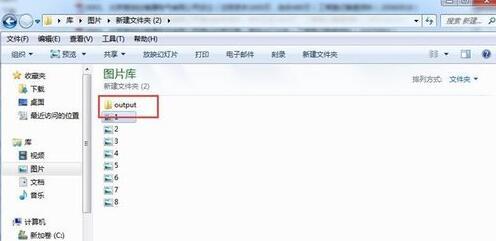
打开转换完后图片保存的目录文件夹,就可以看到图片批量转换成功。注意:若原图就是500*400的,不会进行转换,图片还是存储在原图所在的文件夹中。